X11 and Podman
Published on: 2018-10-15 16:00Update: 2018-10-16 09:17 - Fixed wrong links. Thank you /u/chandergovind!
So, for university, I have to do some Java development. Now, while I am personally not the biggest fan of Java, my main concern with this is the tooling.
My daily driver distro is Fedora Silverblue. While I could use rpm-ostree to layer the necessary development packages, I am committed to keeping my main OS as pure as possible, instead opting for using Flatpaks and containers. So I've decided to install a Java development environment inside a container.
For this one needs a couple of things. First is the application one wants to run inside the container. I've chosen to use Jetbrains' IntelliJ IDEA to demonstrate this, because it's my preferred IDE for Java stuff. One also needs buildah and podman for this.
Now, a fair warning before we begin. This process involves sharing the X11 session with potentially harmful processes that will be able to use X11 to do things like logging key presses and such. While we might be able to share a Wayland session with the container, I elected to use X11 because the sharing is comparatively simple. However, user discretion is advised.
The following commands will be for a "rootless" container. As in the user can use their own user account to operate the container.
Step 1. Preparation
Now, depending on what you're doing, this step may be totally optional. But in my case, I had to download the IntelliJ IDEA Ultimate off of the Jetbrains website. After that, I extracted the tar-file and prepared for the next step.
Step 2. Preparing the container image
Step 2.1. Creating the image
At this point we will have to create the container image we want to make our X11 jail. It happens like so.
$ buildah from --name java-container fedora:29This will create a container for buildah that we can then manipulate as we want.
The --name-switch tells buildah to call the container java-container. If we don't give the container a name, buildah will generate us one, and with or without the switch it will also print the container name to stdout to be captured into a shell variable.
After that, fedora:29 tells buildah to base this container on Fedora 29.
Step 2.2. Doing the necessary transformations
Now that we have our container image, it is time to do some transformations to the container itself. In my case that means installing the necessary Java development tools and IDEA.
First of all, let us install the necessary packages.
$ buildah run java-container -- /usr/bin/dnf install -y java-openjdk-devel which findutilsAfter this, I had to copy IDEA to the container image.
$ buildah copy java-container ~/Downloads/ideaIU-2018.2.4 /root/This copied the IDEA installation to /root. In this case it copied the innards of ideaIU-2018.2.4 which was, at the time of writing this, idea-IU-182.4505.22. I copy it to the container's root's home directory, since I don't plan to create another user in this container.
Step 2.3. Committing the image
Now that we've done the necessary transformations, we can proceed to commit this container state to an image podman can use. Now, some might tell you to clean all of the useless cruft from the container image. Things like package management metadata. However, I will not be doing that in my case, in order to make things like updating easier. But here's how you might do it.
$ buildah run java-container -- /usr/bin/dnf clean allNow we are ready to commit our container state into a container image.
$ buildah commit java-container java-devel-imageNow we can access this container from podman with the name localhost/java-devel-image because we didn't send it to places like dockerhub. We could now remove the java-container, but again I will not do that for the convenience of updating both the packages of the container and IDEA. But here's how you would remove it.
$ buildah rm java-containerStep 3. Running the app
Now that we have our container image, it is time to say hello to podman. This is a much shorter section than the last. Here is how I would run IDEA on my fancy, new container.
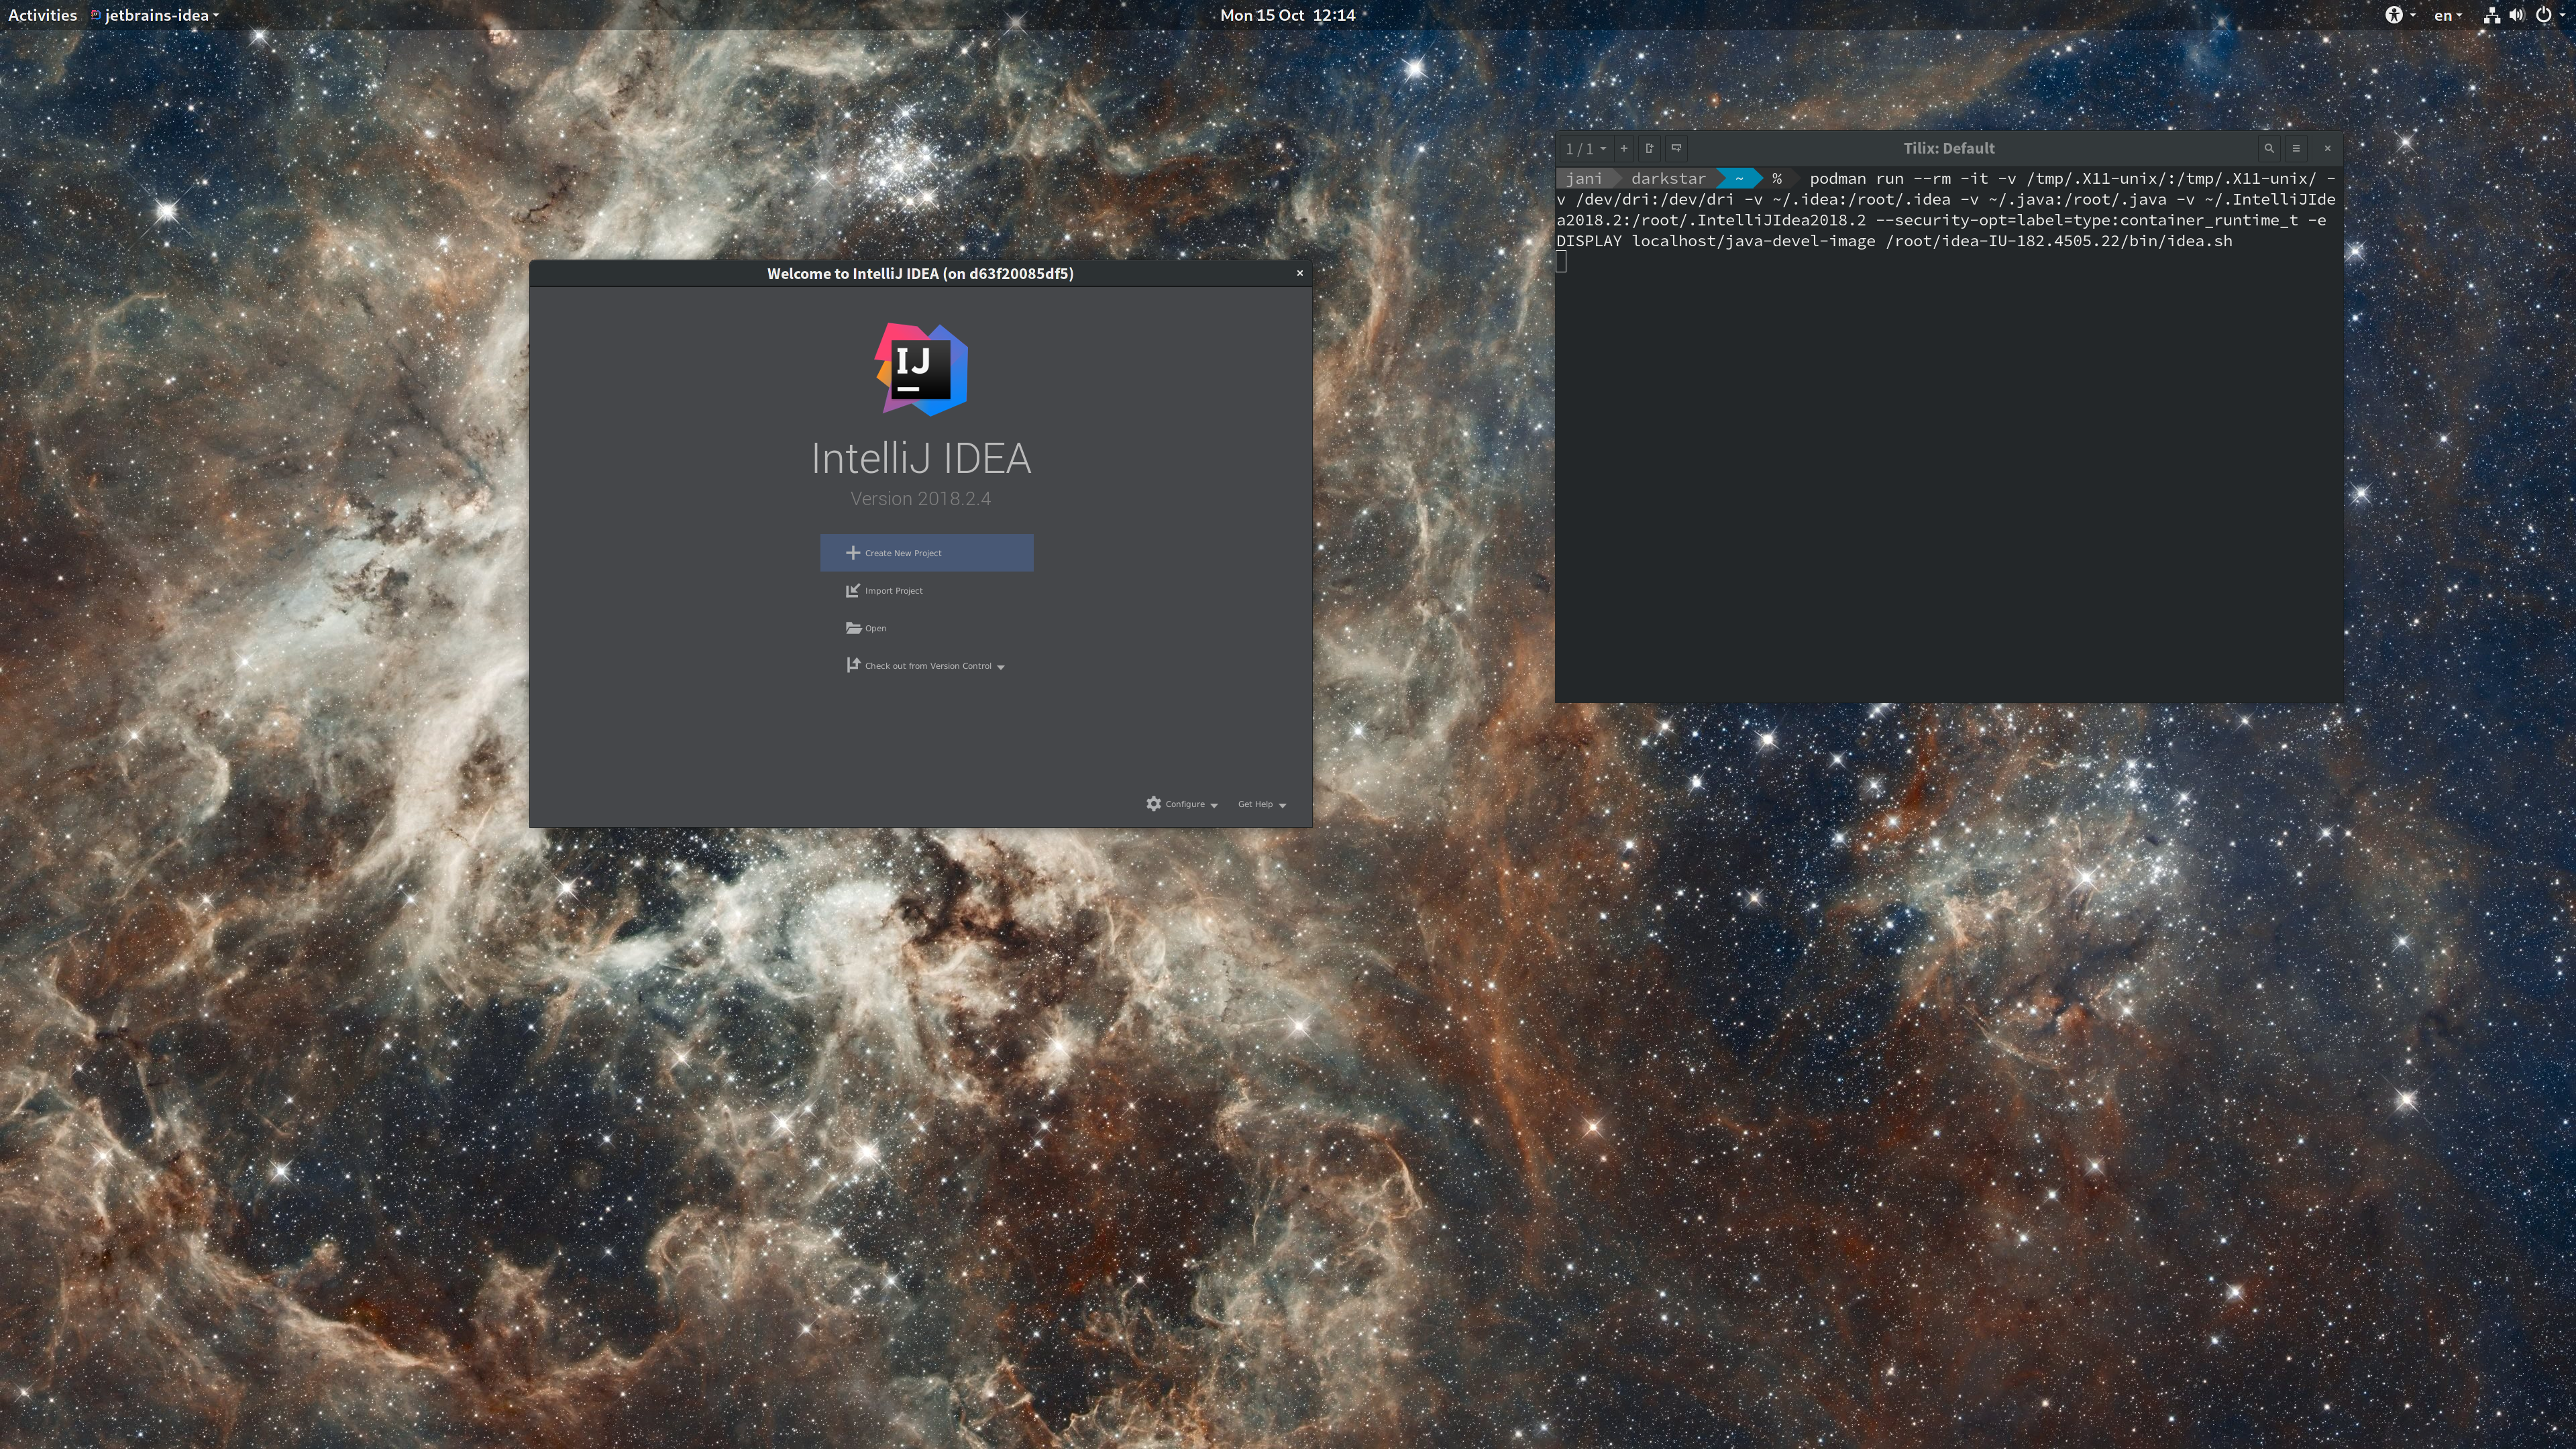
$ podman run --rm -it -v /tmp/.X11-unix/:/tmp/.X11-unix/ -v /dev/dri:/dev/dri -v ~/.idea:/root/.idea -v ~/.java:/root/.java -v ~/.IntelliJIdea2018.2:/root/.IntelliJIdea2018.2 --security-opt=label=type:container_runtime_t -e DISPLAY localhost/java-devel-image /root/idea-IU-182.4505.22/bin/idea.shPhew. There's a lot to unpack here! So let us get started!
--rmtells podman that after the container process has quit that it's okay to remove this instance of the container. This means that the container will be fresh and new every time.- The
-iand-ttell podman that the command to run is both interactive and that it should allocate it a TTY -vtells podman to mount the mentioned directory into the container. It mounts/tmp/.X11-unixin order to share the X11 session socket,/dev/drifor graphics acceleration, and the various directories needed for IntelliJ IDEA's operation and settings.--security-opt=label=type:container_runtime_ttells podman to set the SELinux label of the container tocontainer_runtime_t. This is needed to access the socket under /tmp/.X11-unix and such.-etells podman to set an environment variable to a certain value inside the container, in our case DISPLAY. If we wanted to, for instance, set an environment variable FOO tobar, it would be done like:-e FOO=bar. If no assignment is done, it defaults to the current value from the host environment.localhost/java-devel-imageis our container image from before.- And then comes the command to execute alongside its arguments.
Here's a screenshot of IDEA running from inside the container!
Afterword
The technology behind buildah, podman, and such is some of the most clever I've ever used. As far as I am concerned, this is one of the best things to happen to the Linux desktop. Although, I would be lying if I claimed that this whole pet-container thing couldn't be made easier. Regardless, I am now hapily using IDEA on my Silverblue installation, and everything is fine.